
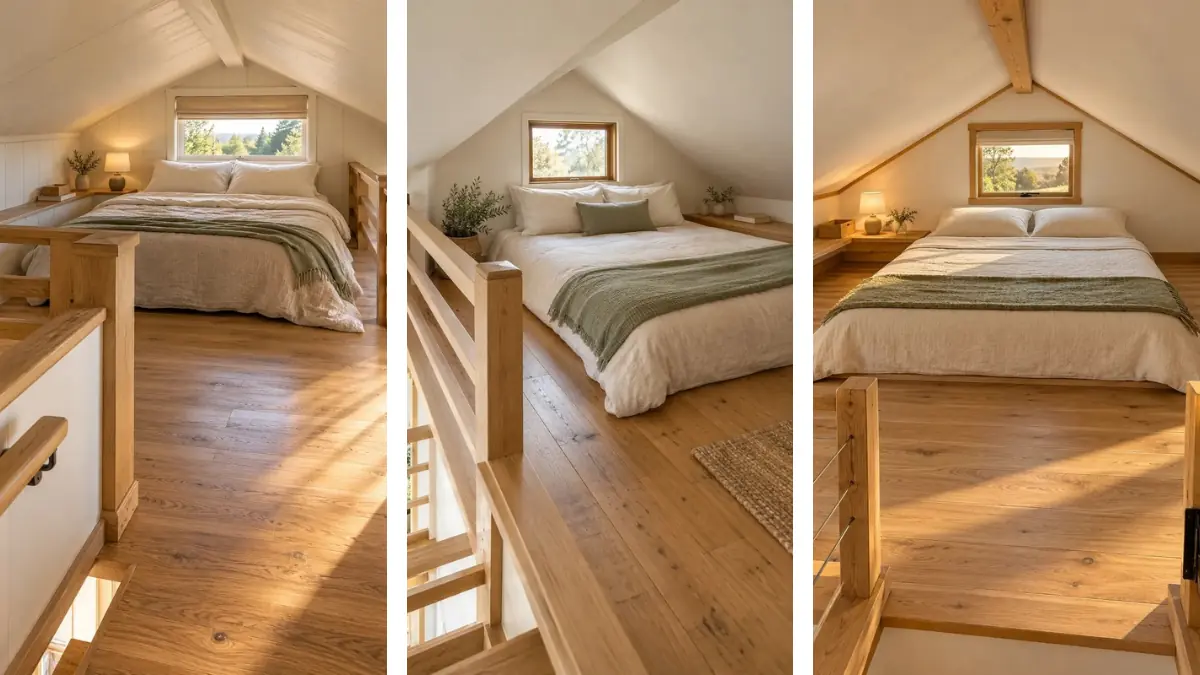
A tiny loft bedroom can feel snug in the best way—until spare pillows block the entrance and the ceiling seems too close to your face. If you’re wondering how to decorate a tiny home loft bedroom, start with the space your body needs before choosing the pretty extras. A soft blanket cannot fix a bed position that makes sitting up awkward.
The aim is a comfortable sleeping spot with a clear way in, useful light, and a few warm textures. You can work with the wood, walls, and bed you already have. There is no need to fill every corner or buy a matching set of decor.
This guide takes you from clearing the loft to adding the finishing touches in nine steps. You’ll check the layout first, then choose colors, lighting, storage, and bedding that fit it. Allow about 3–5 hours with supplies ready, spread across a day if needed. Shopping, painting, and fixture installation take extra time. Start with what you own, and leave new purchases until you know what fits.
Your decorating plan
Estimate assumes supplies are ready. Shopping, painting, drying, and installation are extra.
What you need
- Tape measure
- Paper or a notebook and pencil
- Temporary sorting bag or basket
- Your existing mattress and suitable bed support
- Fitted sheet, sleeping pillows, and a bed cover
- One small throw, if wanted
- Existing bedside light or a suitable compact lamp
- One bedside pocket or small storage container, if needed
- Optional cordless window covering with a permitted mounting method
Check what you already own before buying. A new bed frame, paint, wall shelves, and decorative cushions are not required.
At a glance
- Clear out everything that does not support sleep.
- Measure the loft’s floor space and usable headroom.
- Position the bed where you can sit up comfortably.
- Choose a small palette of warm, quiet colors.
- Fit a compact window covering within the opening.
- Place warm lighting within reach of the bed.
- Contain bedside essentials in one small storage spot.
- Layer the bed with soft texture and limited bulk.
- Edit the final room until the access route stays clear.
Clear Out Everything That Does Not Support Sleep
The loft needs room for you before it needs another basket. Take out spare chairs, off-season clothes, empty boxes, and cushions you move onto the floor each night. Keep the bed, everyday bedding, and items you use at bedtime. Put undecided decor in a temporary sorting spot downstairs. An empty corner can stay empty; you do not need to replace what you remove.
Give the loft a clear starting point
Bed, everyday bedding, and bedtime essentials.
Spare seating, stored clothing, and decor without a place.
The entrance, approach to the bed, and window access.
Measure the Loft’s Floor Space and Usable Headroom
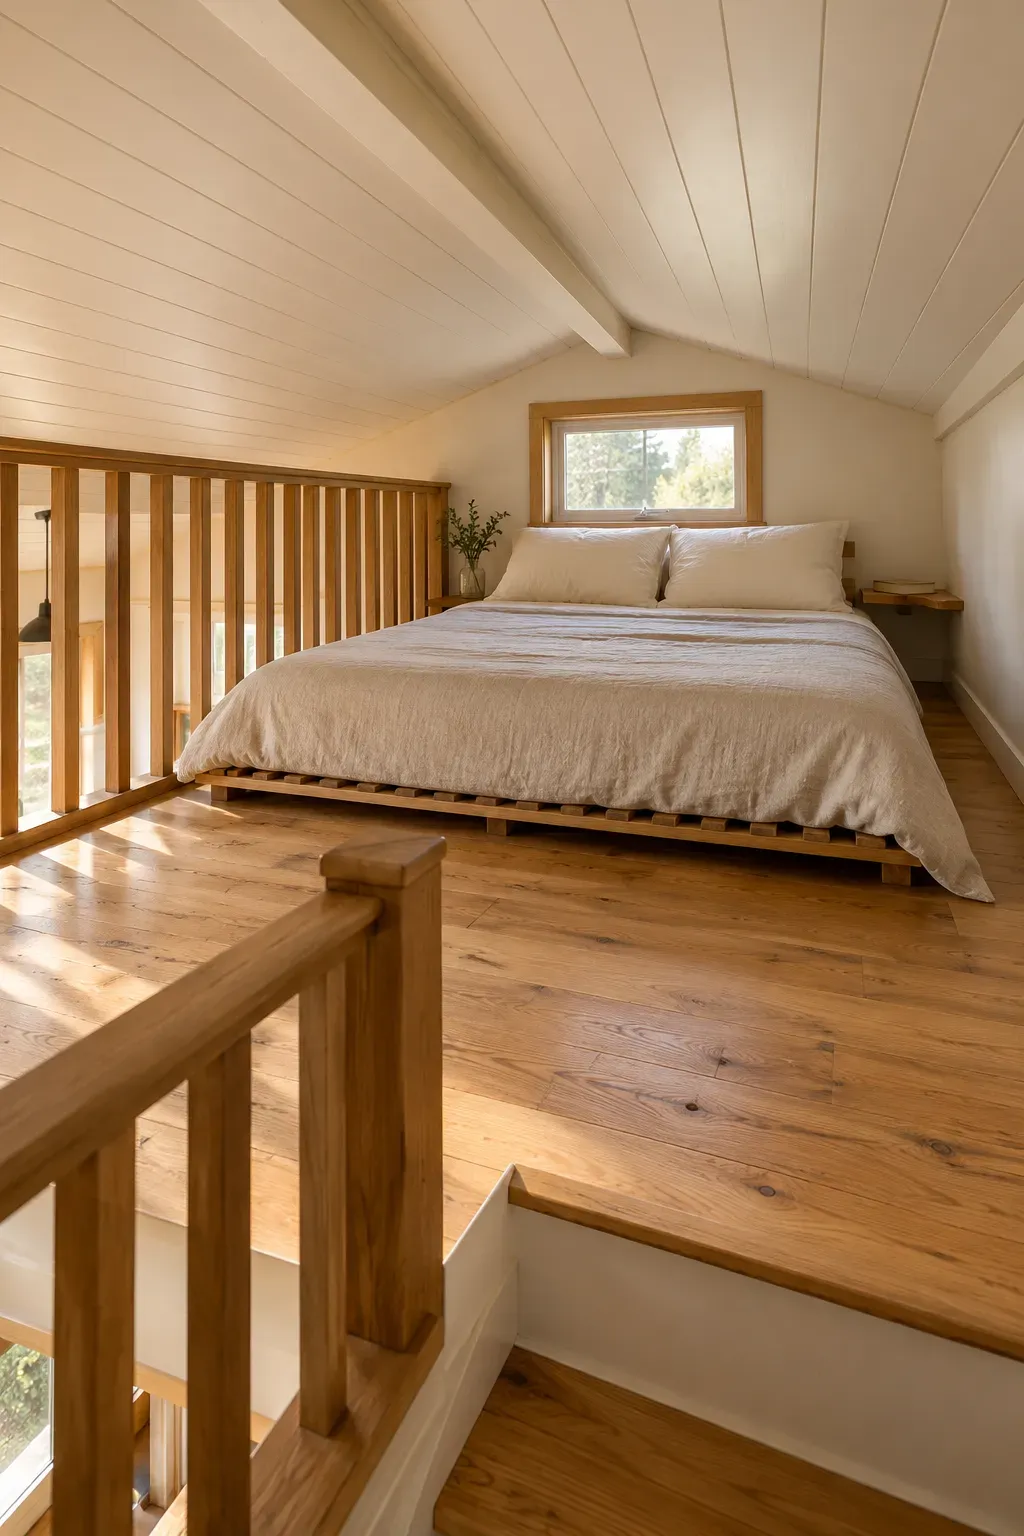
A bed can fit on the floor and still feel awkward beneath a slope. Sketch the loft on paper and record its length and width. Mark the entrance, windows, outlets, and fixed features.
Measure from the floor to the ceiling where your head, torso, and feet would sit. Record the combined height of the bed support and mattress, too. Subtract that from the ceiling measurement to find the space above the bed. Keep these notes beside you when comparing layouts; floor area alone does not tell the whole story.
Measure the space you will actually use
- Floor: length, width, and the bed’s full footprint.
- Ceiling: height at the proposed head, torso, and foot positions.
- Bed: combined support and mattress height.
- Access: entrance position, window operation, and the approach to the bed.
Space above the bed = ceiling height at that spot − support and mattress height.
This is a layout check. A comfortable fit still needs to be tested with your own seated height.
Position the Bed Where You Can Sit Up Comfortably
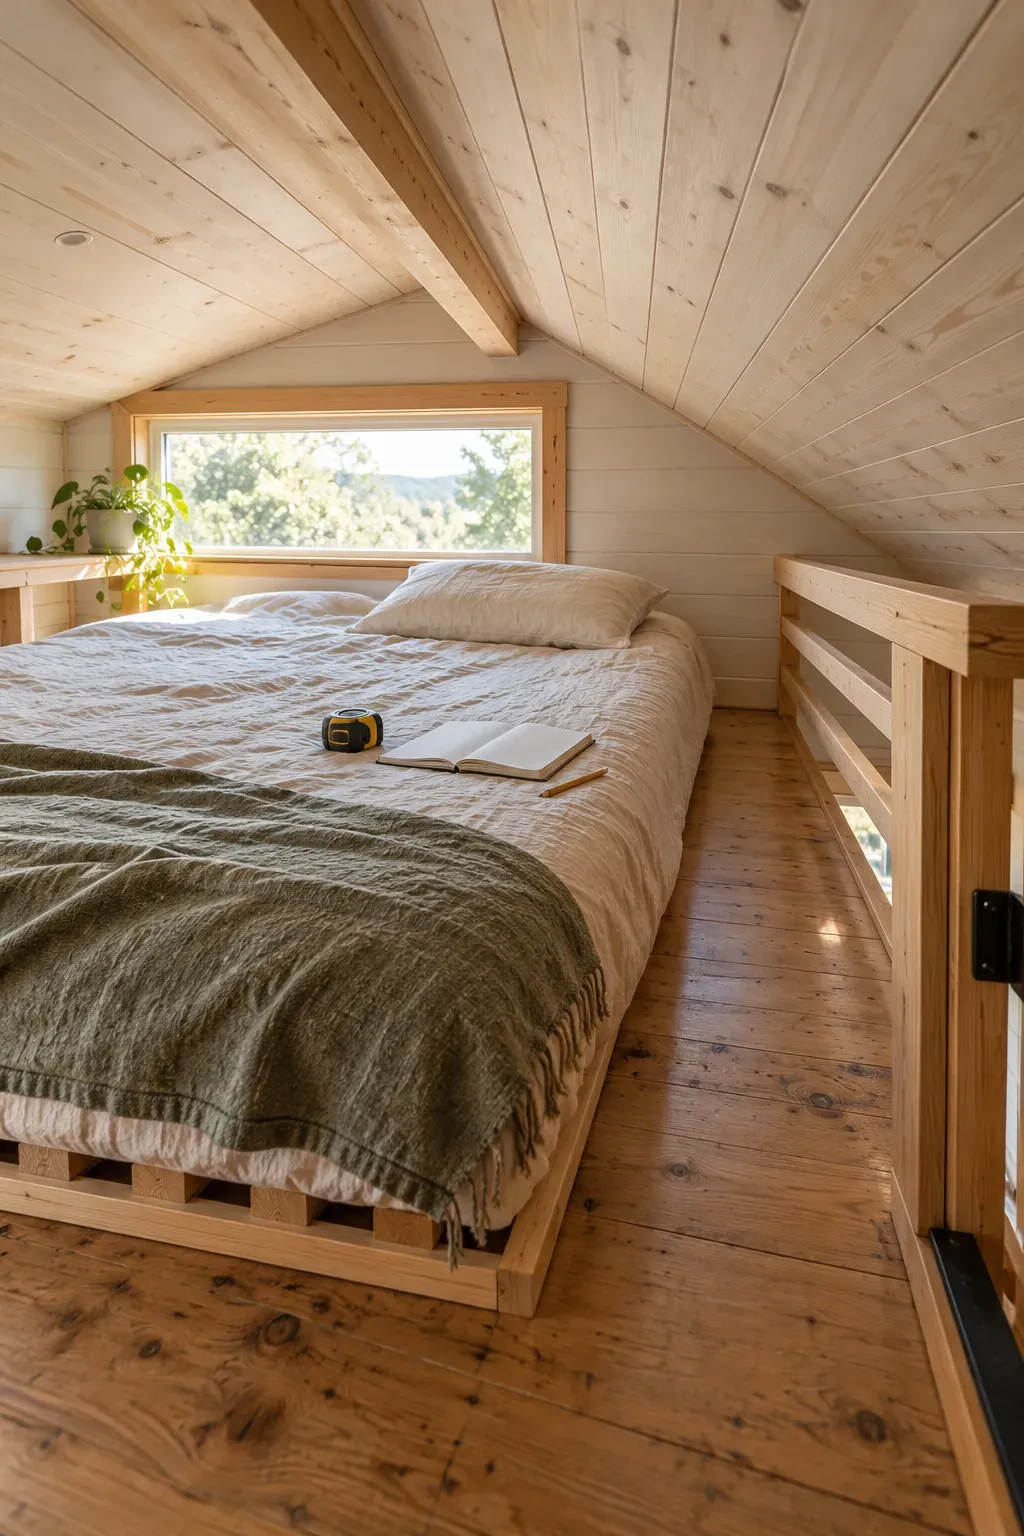
If the roof slopes, place the pillow end where there is enough room for your seated head and shoulders. Use your sketch to compare positions before moving anything heavy. Test the arrangement with the mattress on its intended support: sit up, turn toward the entrance, and get in and out.
Keep the approach clear and check that windows still open. If the frame is fixed, work within that layout. Do not remove needed mattress support to gain height; follow the mattress maker’s support and airflow guidance.
Heads up: keep the loft’s access intact
Leave existing guards, handholds, stairs, and ladders in place. Keep the entrance, window access, and vents clear. Do not raise the bed beside a guard to create extra storage or change a fixed platform as part of this decorating project.
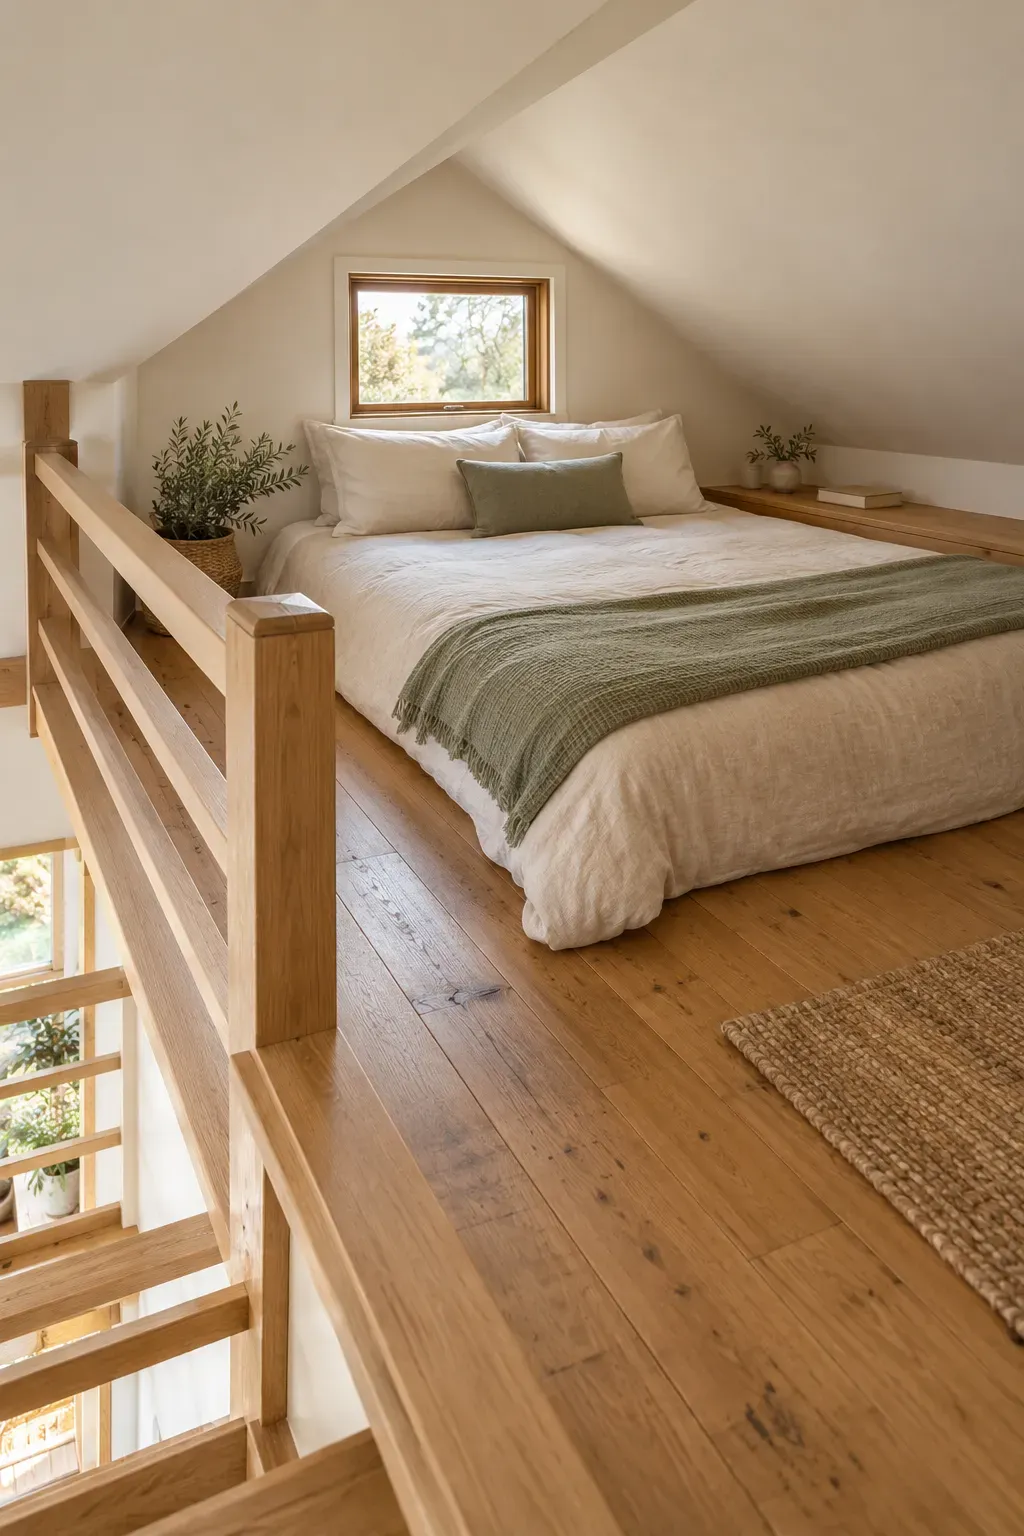
Choose a Small Palette of Warm, Quiet Colors
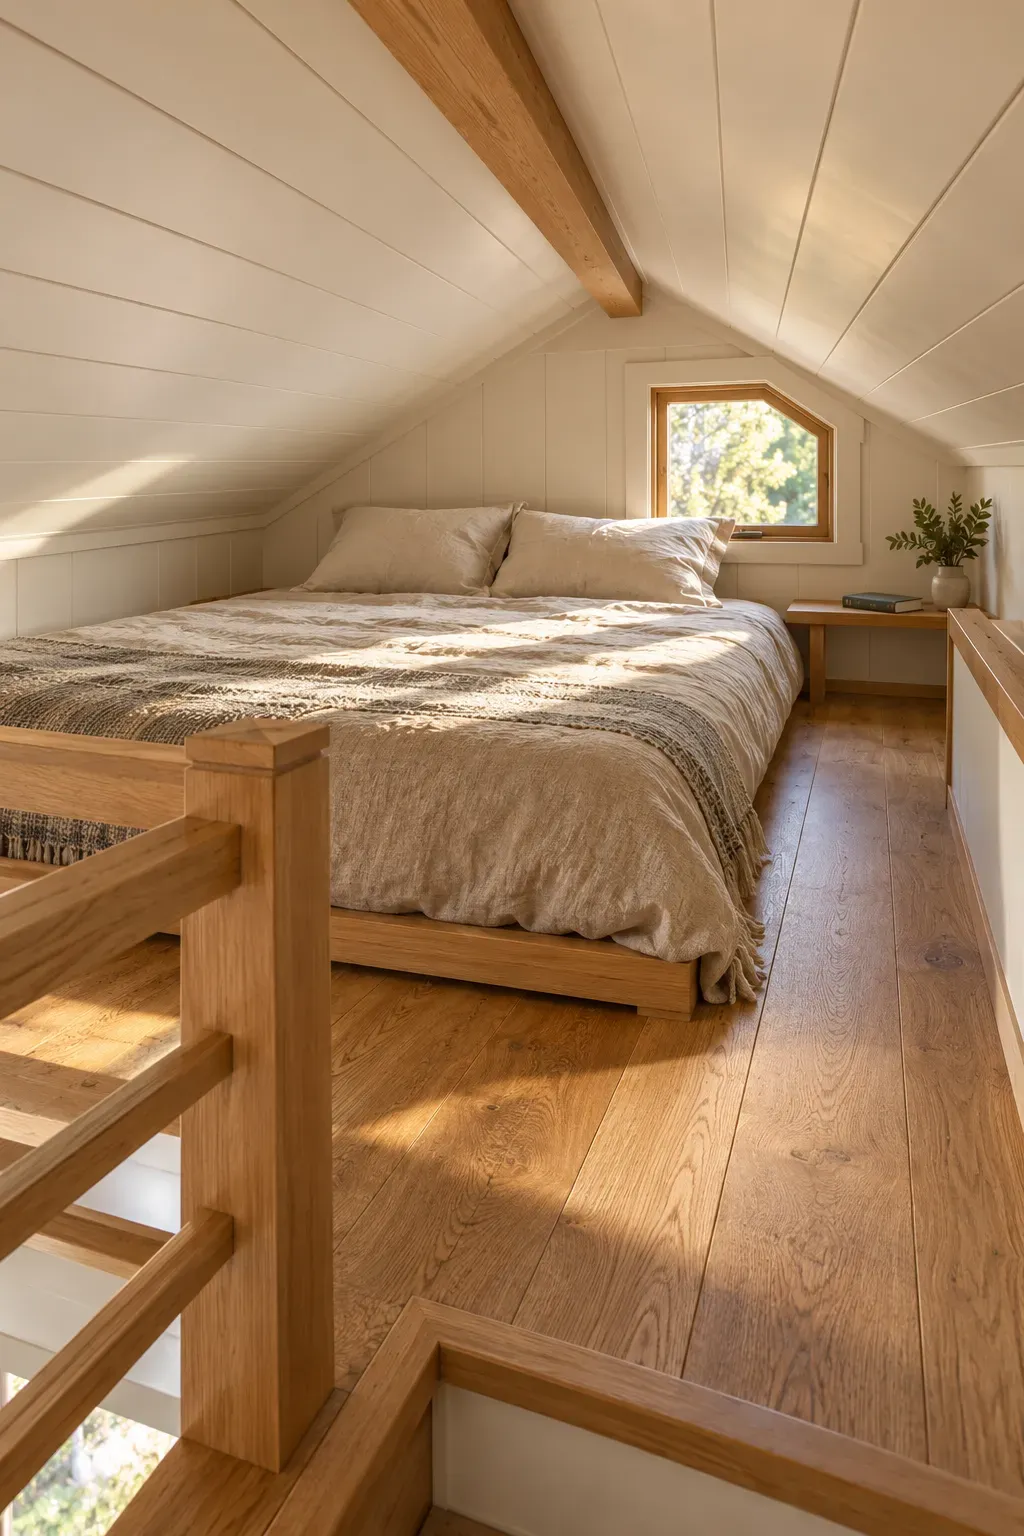
Three main colors give you a useful starting point: a warm neutral, the wood tone already in the loft, and a small accent. Try cream bedding with oak and muted sage, or oatmeal with walnut and dusty blue.
Hold fabric choices beside the walls in daylight and under your evening light. Keep the combination you enjoy in both. Repeating a few colors across the bed and window helps the small room feel less visually busy.
Build the palette around what stays
Renter tip: Start with sheets, pillowcases, and a throw you already own. You can try the whole palette without painting or attaching anything to the walls.
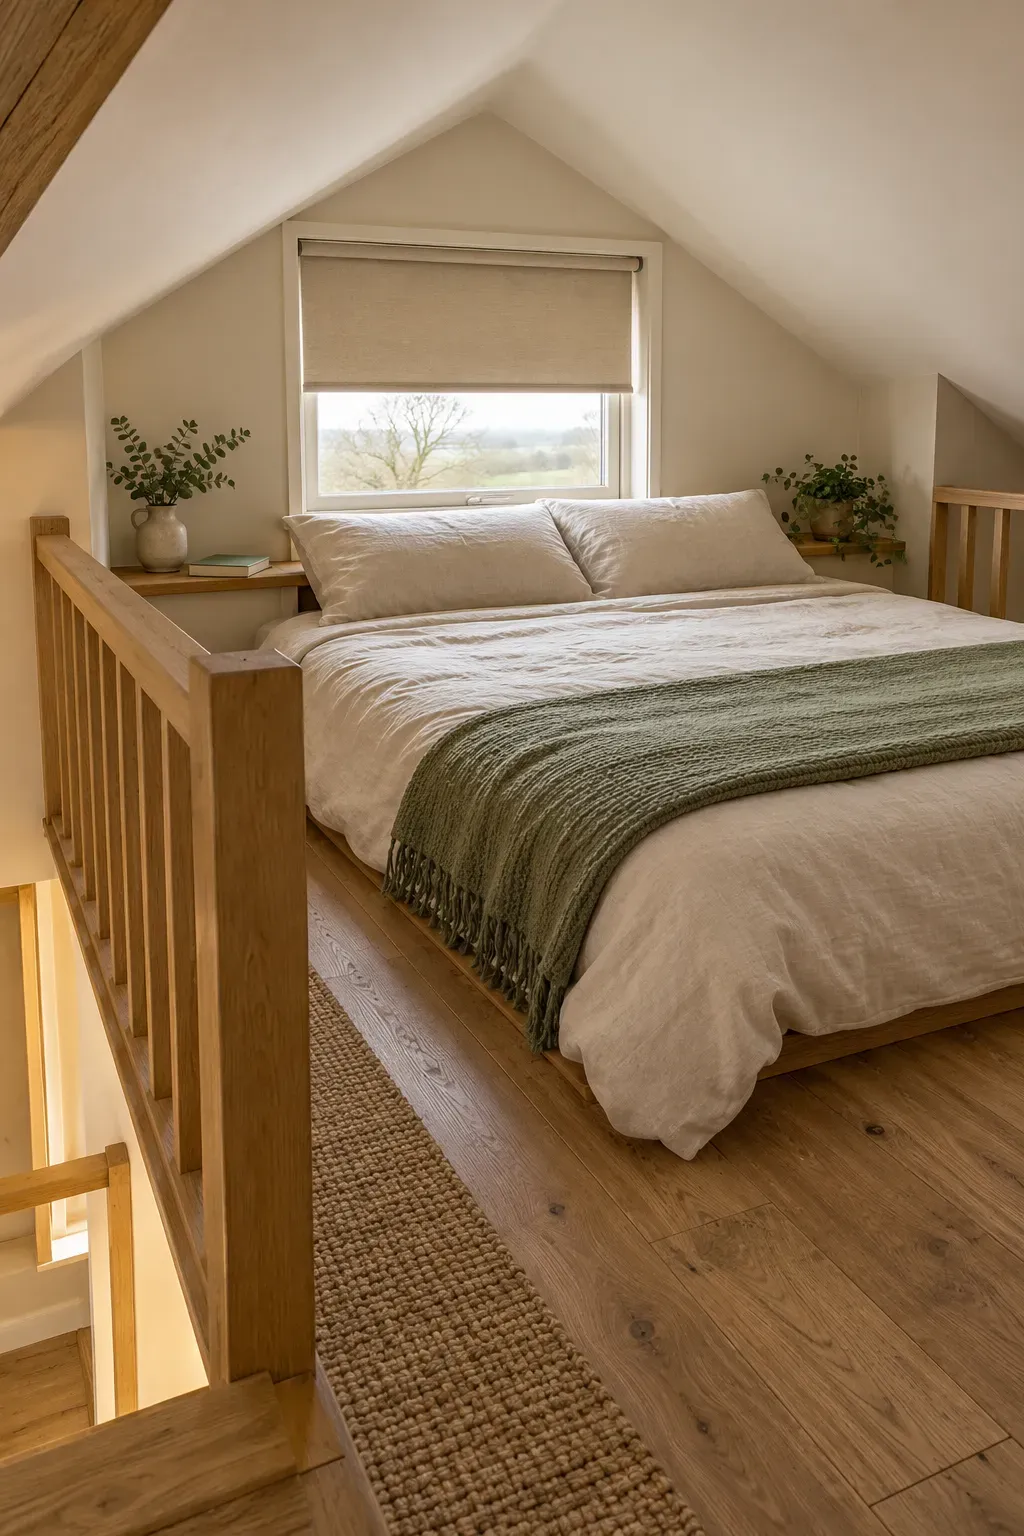
Fit a Compact Window Covering Within the Opening
Loose curtains can end up against your pillow in a low loft. A cordless roller or cellular shade may fit more neatly, provided the window recess suits it. Measure the opening using the shade maker’s instructions, including the depth needed for its brackets.
Choose light-filtering fabric for softer daylight or room-darkening fabric if morning brightness bothers you. Check that the raised shade clears the handle and lets the window open. Use a mounting method allowed in your rental; if the recess is too shallow, keep a working existing covering rather than forcing an inside fit.
Check the fit before choosing the fabric
- Measure the recess. Follow the chosen shade’s width, height, and depth instructions.
- Match your light needs. Light-filtering fabric softens daylight; room-darkening fabric reduces it more.
- Preserve window movement. Allow space for the handle, opening sash, and raised shade.
- Confirm the mounting method. Use suitable hardware and get permission where required.
Room-darkening fabric can still leave light around the edges. Check the whole shade’s fit rather than expecting the fabric alone to block every gap.
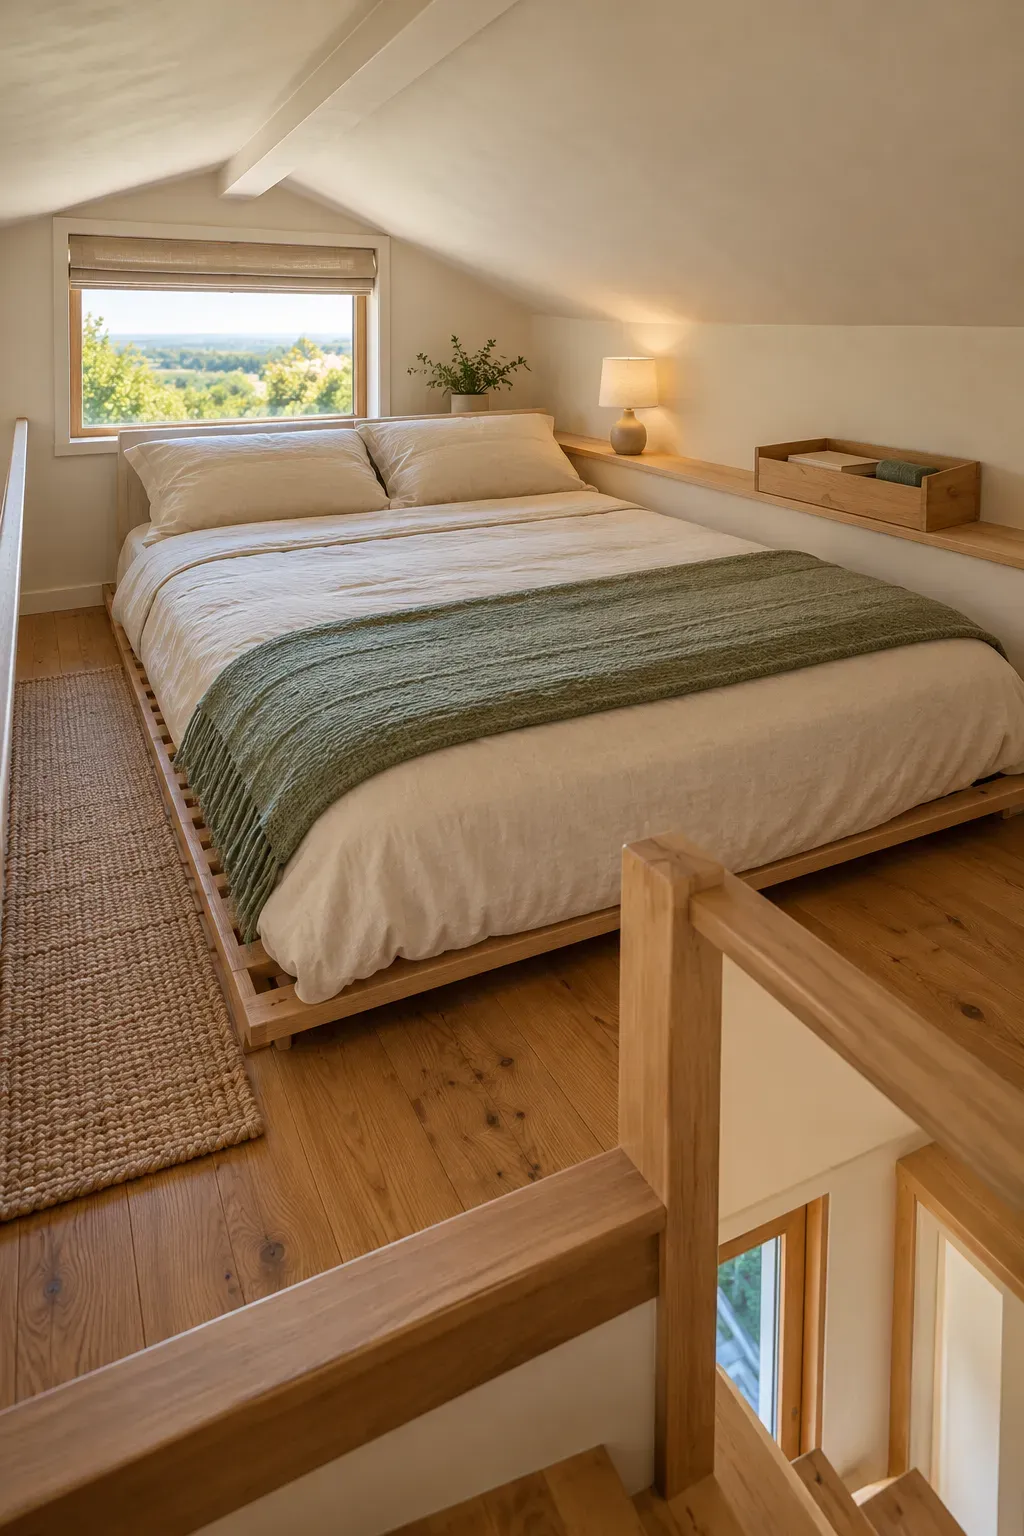
Place Warm Lighting Within Reach of the Bed
Your pillow is the best place to check for glare. With the room dim, test an existing bedside light or a compact shaded lamp on a stable surface. Position it so you can reach the switch without leaning into the access route.
A shade that hides the bright bulb from your resting position can make the light more comfortable. Keep the lamp clear of bedding and route its cord along the wall. If there is no suitable surface, use an existing wall light instead of balancing a lamp on the mattress.
Test the light from bed
Follow the lamp’s bulb and clearance instructions. Leave the stair or ladder lighting in place; a bedside lamp serves a different part of the room.

Contain Bedside Essentials in One Small Storage Spot
Give your glasses, current book, and other bedtime items a home you can reach without getting up. A shallow box on an existing ledge may be enough. If there is no ledge, try a bedside pocket made to fit your bed support, following its fitting instructions.
Keep it within the bed’s footprint where possible. When the container fills up, remove unused items before adding another organizer.
Give small items a fixed home
Keep the contents small: your current book, glasses case, and items you actually use at bedtime.
The loft guard and stair opening are not storage spots. Keep both free of hanging bags and baskets.
Layer the Bed with Soft Texture and Limited Bulk
The bed takes up much of the view, so its fabric can supply most of the room’s softness. Start with a fitted sheet and a cover that suits the season. Keep the pillows you sleep on, then add one small throw if you want more texture or color.
Fold the throw across the foot or along one side, clear of the floor. A woven cover can add interest without extra cushions. If decorative pillows need to live in the walkway each night, leave them out.
Build softness into the bedding
Bedtime check: Can you get into bed without moving a pile of cushions onto the floor? If not, reduce the decorative layers.
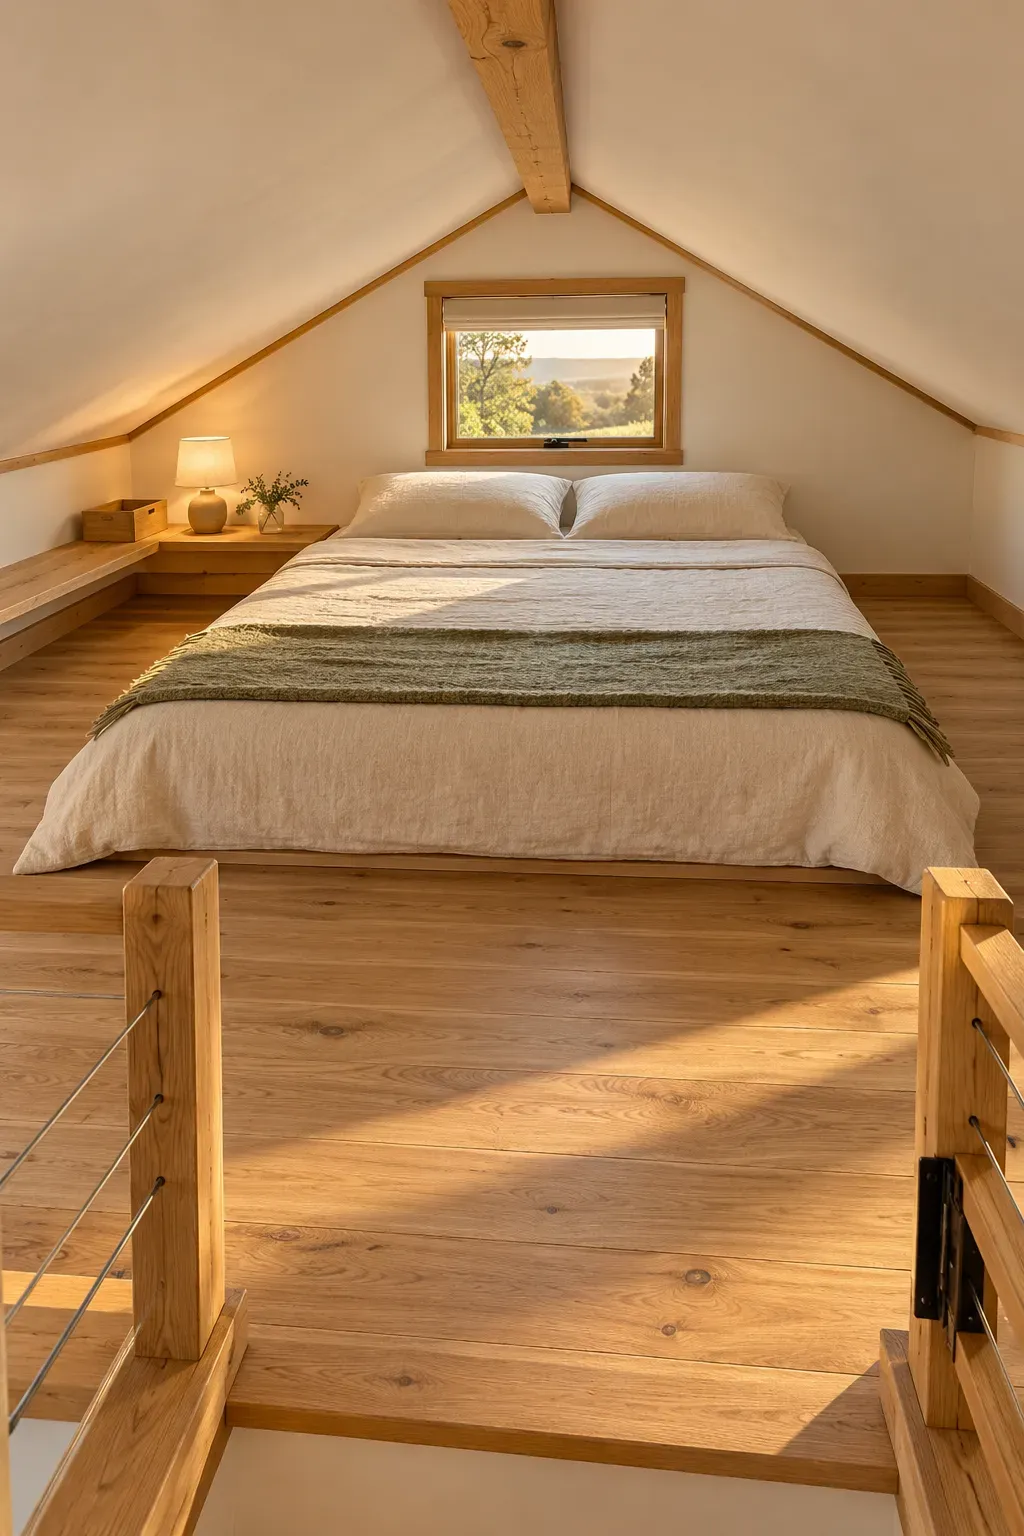
Edit the Final Room Until the Access Route Stays Clear
Before calling the loft finished, use it as you would at bedtime. Enter, sit on the bed, reach the light, and pull back the covers. Notice anything you need to step over, move, or squeeze past.
Check the room in everyday use
- Enter: the approach is free of baskets, loose bedding, and cords.
- Sit: your head and shoulders fit comfortably beneath the ceiling.
- Reach: the bedside light and essentials are accessible without awkward leaning.
- Open: windows and their coverings still operate without moving decor.
- Settle: the bed is ready to use without shifting decorative items onto the floor.
Keep the empty space: you do not need another object because a corner, wall, or ledge has room for one.
Remove those obstacles, then look again in daylight and after dark. Keep the details you enjoy seeing from the pillow. Bare floor and an undecorated patch of wall can be part of the finished room.
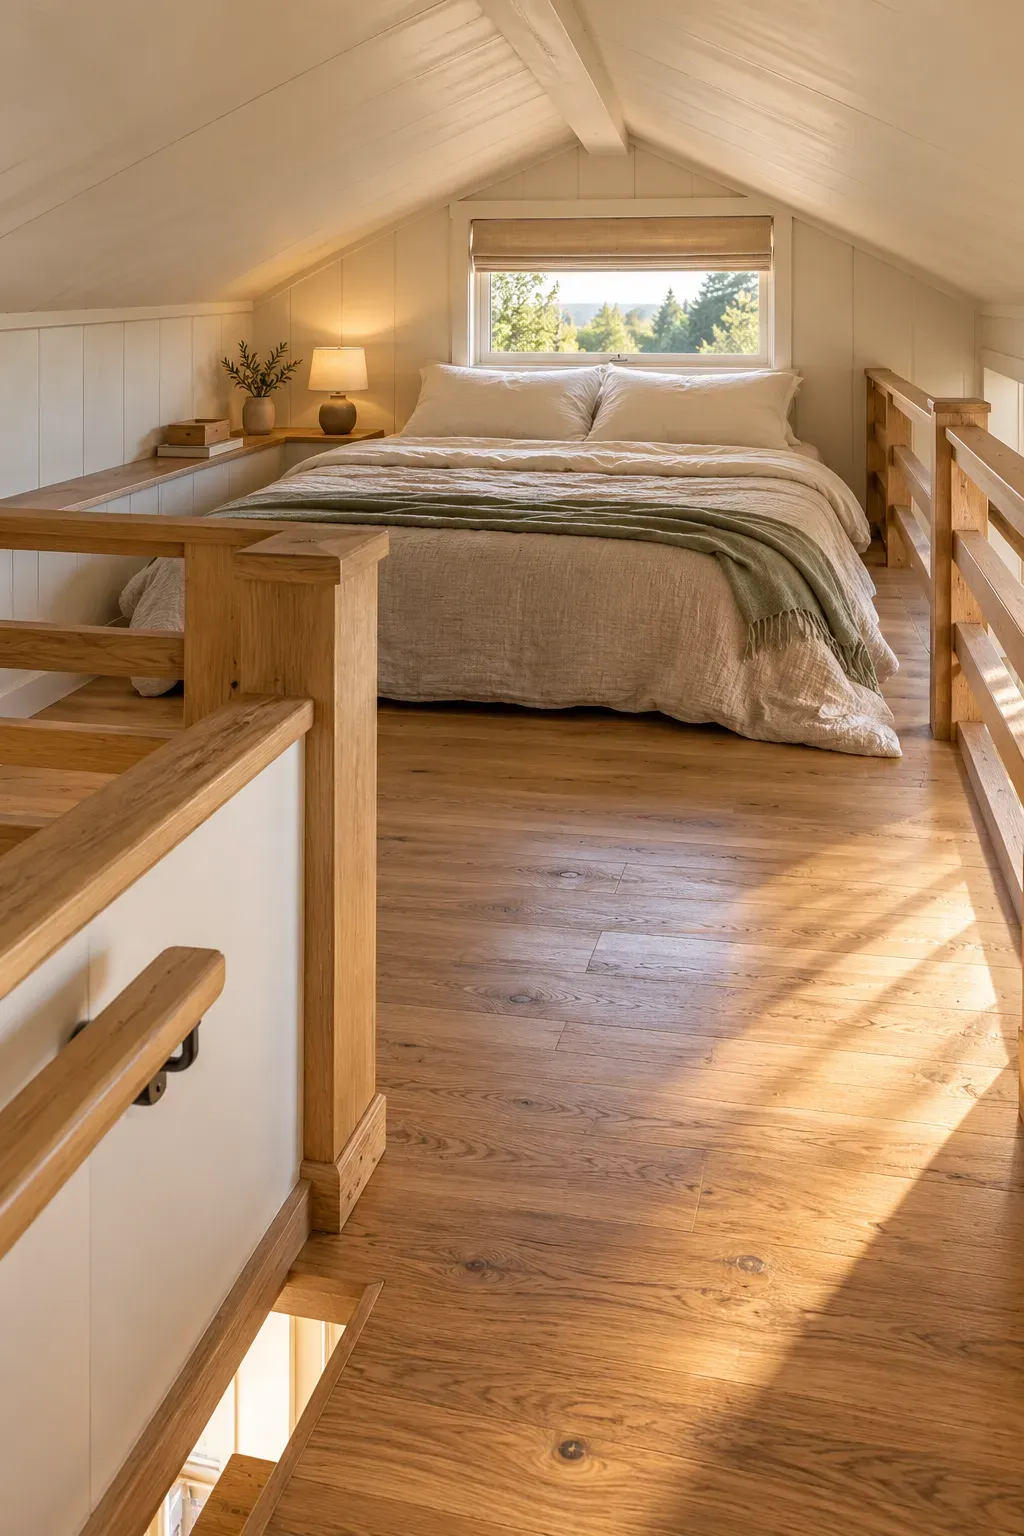
Troubleshoot a Loft That Still Feels Crowded
A room can look tidy and still feel awkward to use. Notice where the problem happens: getting into bed, sitting up, reaching your things, or settling down with the light on. Change that part of the setup before buying more decor.
Small loft problems and practical fixes
| If this happens | Try this |
|---|---|
| The loft looks busy even after tidying. | Remove a decorative layer and group small bedside items in one container. Repeat a few colors rather than introducing a different pattern on every fabric. |
| Sitting up feels cramped. | Recheck headroom above the actual mattress. If the bed can move, test the pillow end beneath a higher part of the ceiling. Do not remove needed support or alter a fixed platform to force a fit. |
| The bedside lamp shines into your eyes. | Adjust its position on the supported surface, or aim an adjustable shade away from your face. Test from your resting position while keeping the lamp clear of bedding. |
| Bedside clutter keeps returning. | Empty the organizer and return only what you use at bedtime. Give spare books, clothing, and extra supplies a home elsewhere. |
| The approach disappears when you pull back the covers. | Try a cover that better fits the bed and fold the throw within the mattress edges. Remove any basket or cushion that competes with the space needed to get in and out. |
Decor can change how the loft looks and functions, but it cannot create missing headroom. If the fixed layout does not allow comfortable use, pause new purchases and have the arrangement assessed.
Answer Your Tiny Loft Bedroom Questions
Tiny loft bedroom FAQs
How can I make a very low loft feel less enclosed?
Keep the area above the bed free of hanging decor, bulky headboards, and deep shelves. Use a small color palette and bedding that stays within the bed’s edges. Check sitting room first, since styling cannot solve a ceiling that is too low for comfortable use.
Do I need to paint dark wood white?
No. Try cream or oatmeal bedding against the existing wood, then add a small accent color you enjoy. Check the combination in daylight and evening light before deciding whether any finish needs changing.
Can I keep my current mattress and bed frame?
Yes, if they suit the loft and leave enough room to sit up and reach the bed. Check the combined mattress and support height before buying anything new. Follow the mattress maker’s support and airflow guidance rather than assuming that placing it on the floor is suitable.
How can I decorate without drilling?
Start with bedding, pillowcases, a small throw, and a container on an existing ledge. Keep usable lights and window coverings already in place. If you need a new fitting, confirm that its mounting method suits the surface and is allowed in your rental.
What should I change first on a small budget?
Clear the approach and remove items you do not use for sleep. Rearrange bedding you already own and check the bedside light from your pillow. Buy something only after you can name the problem it will solve and measure the space it will occupy.
Keep This Tiny Loft Decorating Checklist Handy
Your cozy loft quick reference
Plan the space first, then add comfort where it fits.
What you need
Tape measure, paper, pencil, a temporary sorting bag, your existing bed and bedding, suitable bedside lighting, and one small storage option if needed. A throw and a compact cordless window covering are optional.
Follow these nine steps
- Clear the extras. Rehome anything that does not support your bedtime routine.
- Measure the loft. Record floor space, ceiling slopes, access, and total bed height.
- Check bed placement. Leave room to sit up and get in and out comfortably.
- Choose a small palette. Work with existing finishes and repeat a few colors.
- Fit the window covering. Keep the handle and opening clear.
- Place the bedside light. Check glare, switch access, and cord position.
- Contain small essentials. Use one supported container or a suitable bedside pocket.
- Add soft bedding. Choose useful layers that stay clear of the floor.
- Test the finished room. Remove anything that crowds your normal movements.
Time: About 3–5 hours of active decorating with supplies ready. Shopping, painting, and installation take extra time.
Keep clear: the entrance, stairs or ladder, handholds, guards, window access, and vents.
Enjoy a Loft That Leaves Room for You
Learning how to decorate a tiny home loft bedroom starts with making room for everyday comfort: sitting up, reaching the light, and getting into bed without moving a pile of things.
Warm colors, soft bedding, and a few useful belongings can make that clear space feel inviting.
Live with the arrangement for a few nights before buying anything else, and adjust the detail that still gets in your way.
Save this guide to your Pinterest board for the next time your little loft needs a refresh.